Discover our available APIs and endpoints
Go through our API Reference to identify the API(s) and endpoints you will need for your use case.
Sign up to the Developer Portal
By signing up to the Developer Portal and creating an app, you’ll be able to get all the authentication credentials you need to access the Sandbox environment (cf. demo below).
If you sign up with your email address (without a Qonto account), your organization will go through a review before your account is activated. This process takes around 48 hours on average. You will receive a confirmation email once your account is approved.If you sign up using Sign in with Qonto, no additional review is needed since it is already handled through your Qonto account.
Are you interested in seeing how Qonto Embed could supercharge your platform with embedded financial services? Check out our sample app.
Selecting your use case
When creating your application, you select a use case that shapes which scopes are available and what approval process is required. Use cases only apply to OAuth 2.0 and have no effect on API key authentication.Automate your business operations
Automate your business operations
Qonto account owners automating their own workflows (accounting sync, internal reporting, reconciliation) using the Business API.Access with:
- OAuth 2.0 if you need to perform sensitive actions (cf. the endpoints access table to identify if you need to use an endpoint which is only accessible through OAuth) OR if you want to restrict the scopes accessible with your authentication credentials to a specific list of scopes;
- Your API key otherwise.
This use case requires no validation from Qonto, for either authentication method. You can start building right away.
Connect your customers' Qonto accounts to your platform
Connect your customers' Qonto accounts to your platform
Third-party platforms connecting to Qonto on behalf of their users (ERPs, accounting software, financial tools).Access with: OAuth 2.0.
Embed Qonto business features into your platform
Embed Qonto business features into your platform
Partners embedding Qonto natively into their product.
- To create Qonto business accounts (and eventually companies) for your customers, use the Onboarding API;
- To operate those accounts directly from your platform, use the Business API (with OAuth 2.0).
Streamline company creation
Streamline company creation
Platforms using the Onboarding API to create Qonto accounts and companies (digital KYB, KYC and capital deposit) programmatically.
An application’s use case cannot be changed after creation. If you selected the wrong use case, create a new application. You will receive a new
client_id and client_secret, but the integration structure remains identical.Set up the Sandbox environment
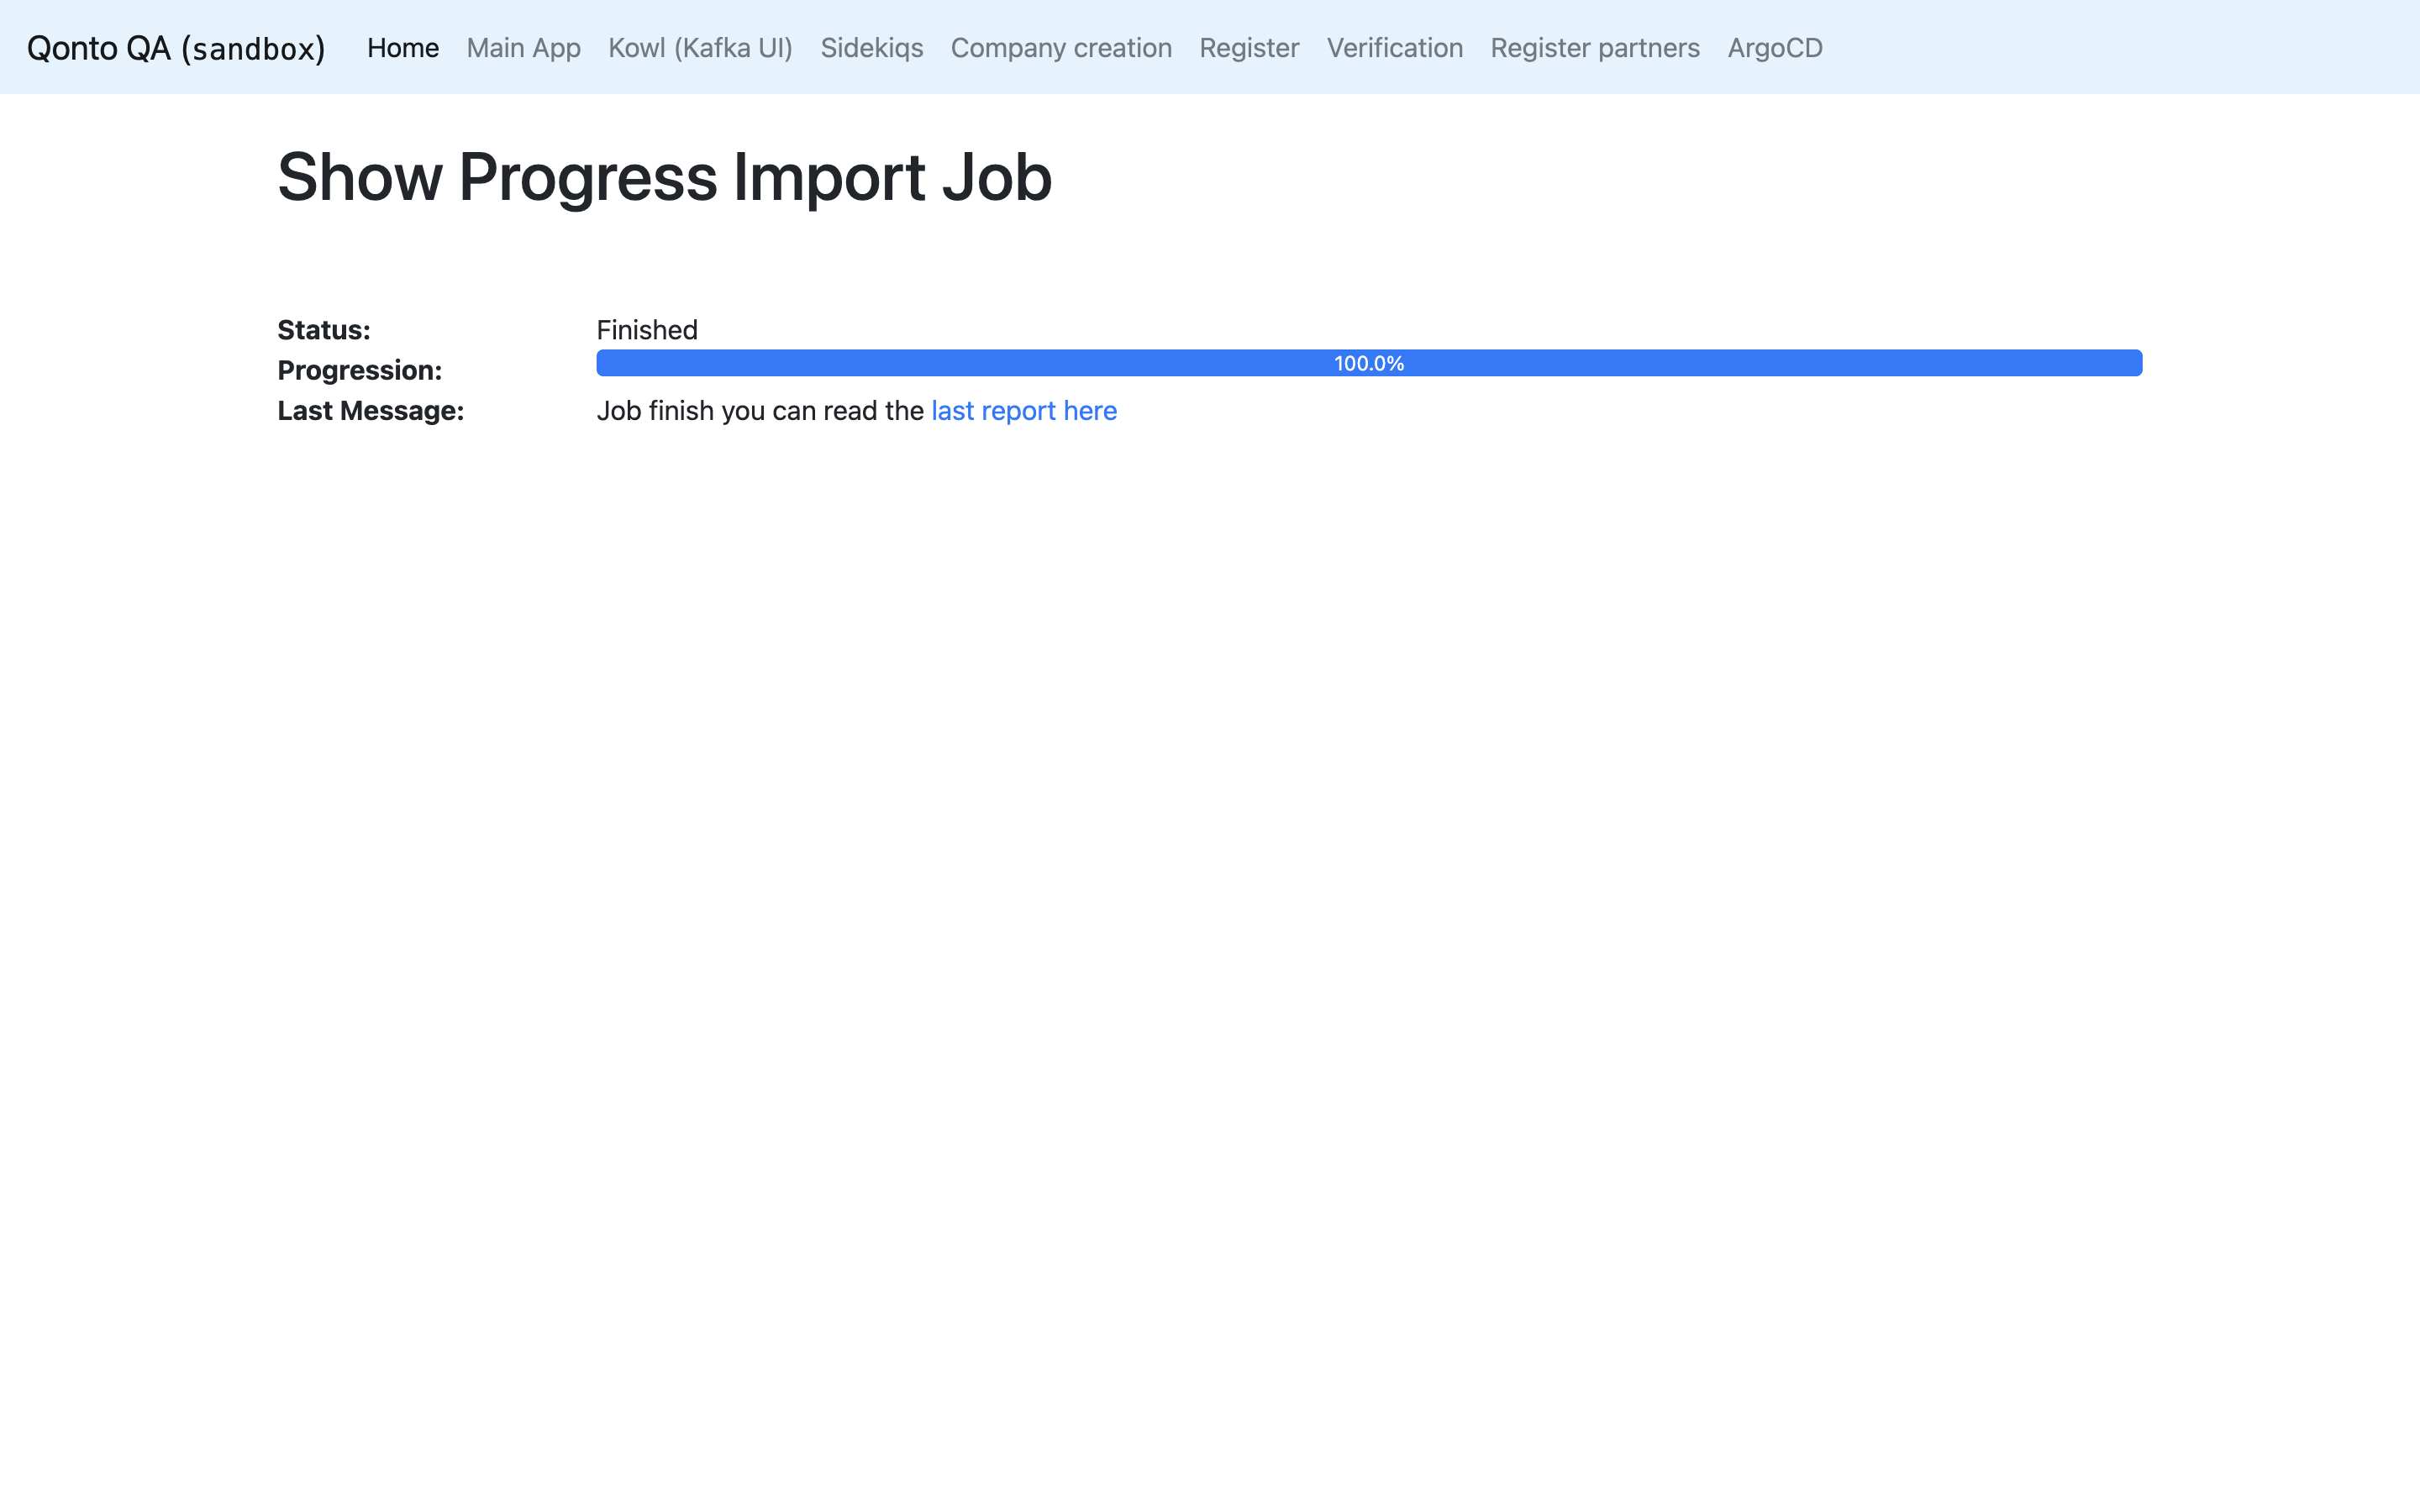
Before making your first API calls, we strongly recommend you set up the Sandbox environment to play with dummy data and check if the API responses are the expected ones.
In the following steps, if any verification screen is prompted, please fill
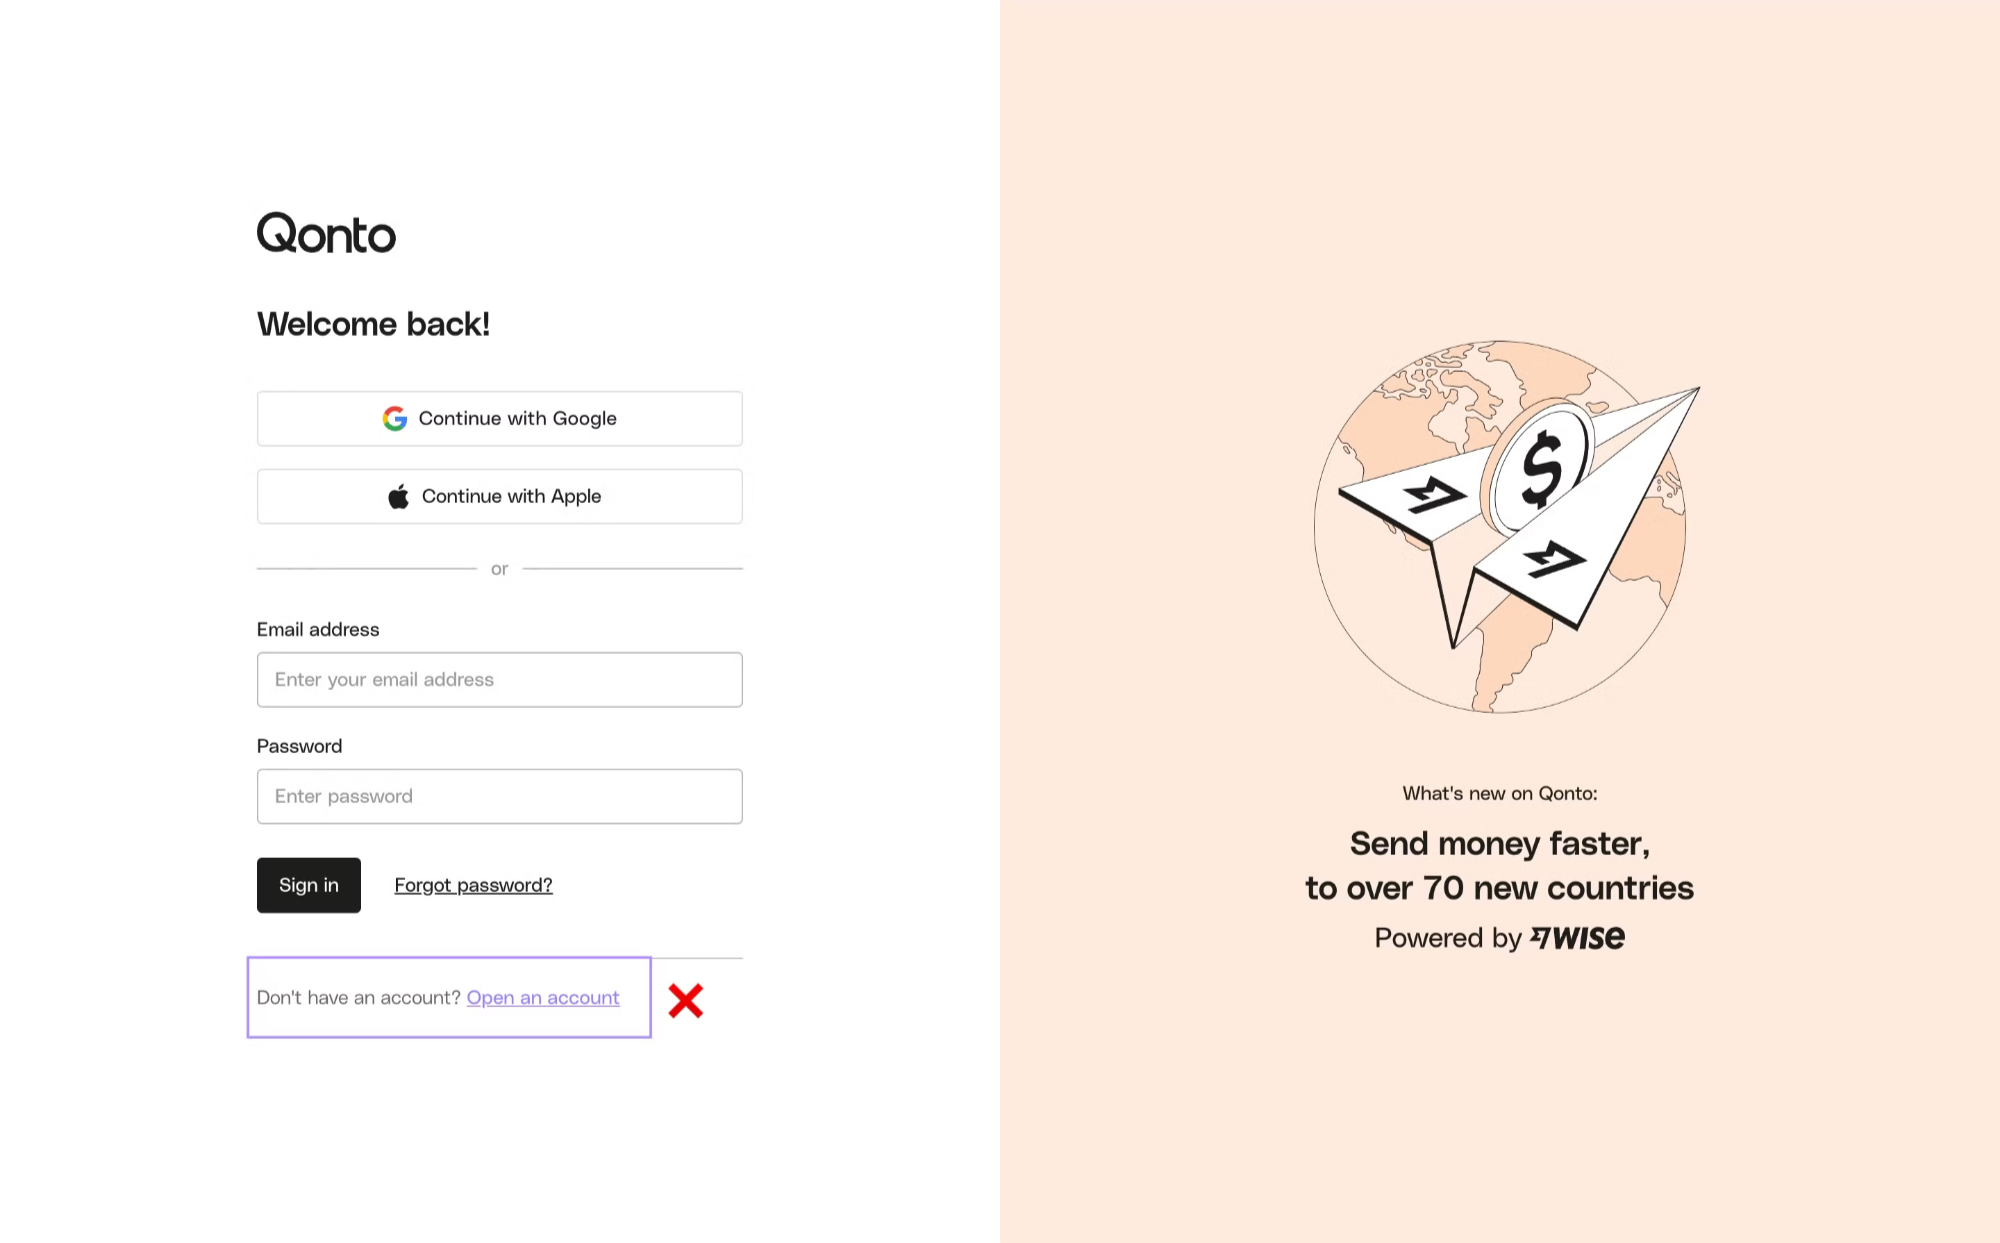
123456.Log in to the Sandbox web app
Log in to the Sandbox web app
-
From the Toolkit, click on “Sandbox web app”.
-
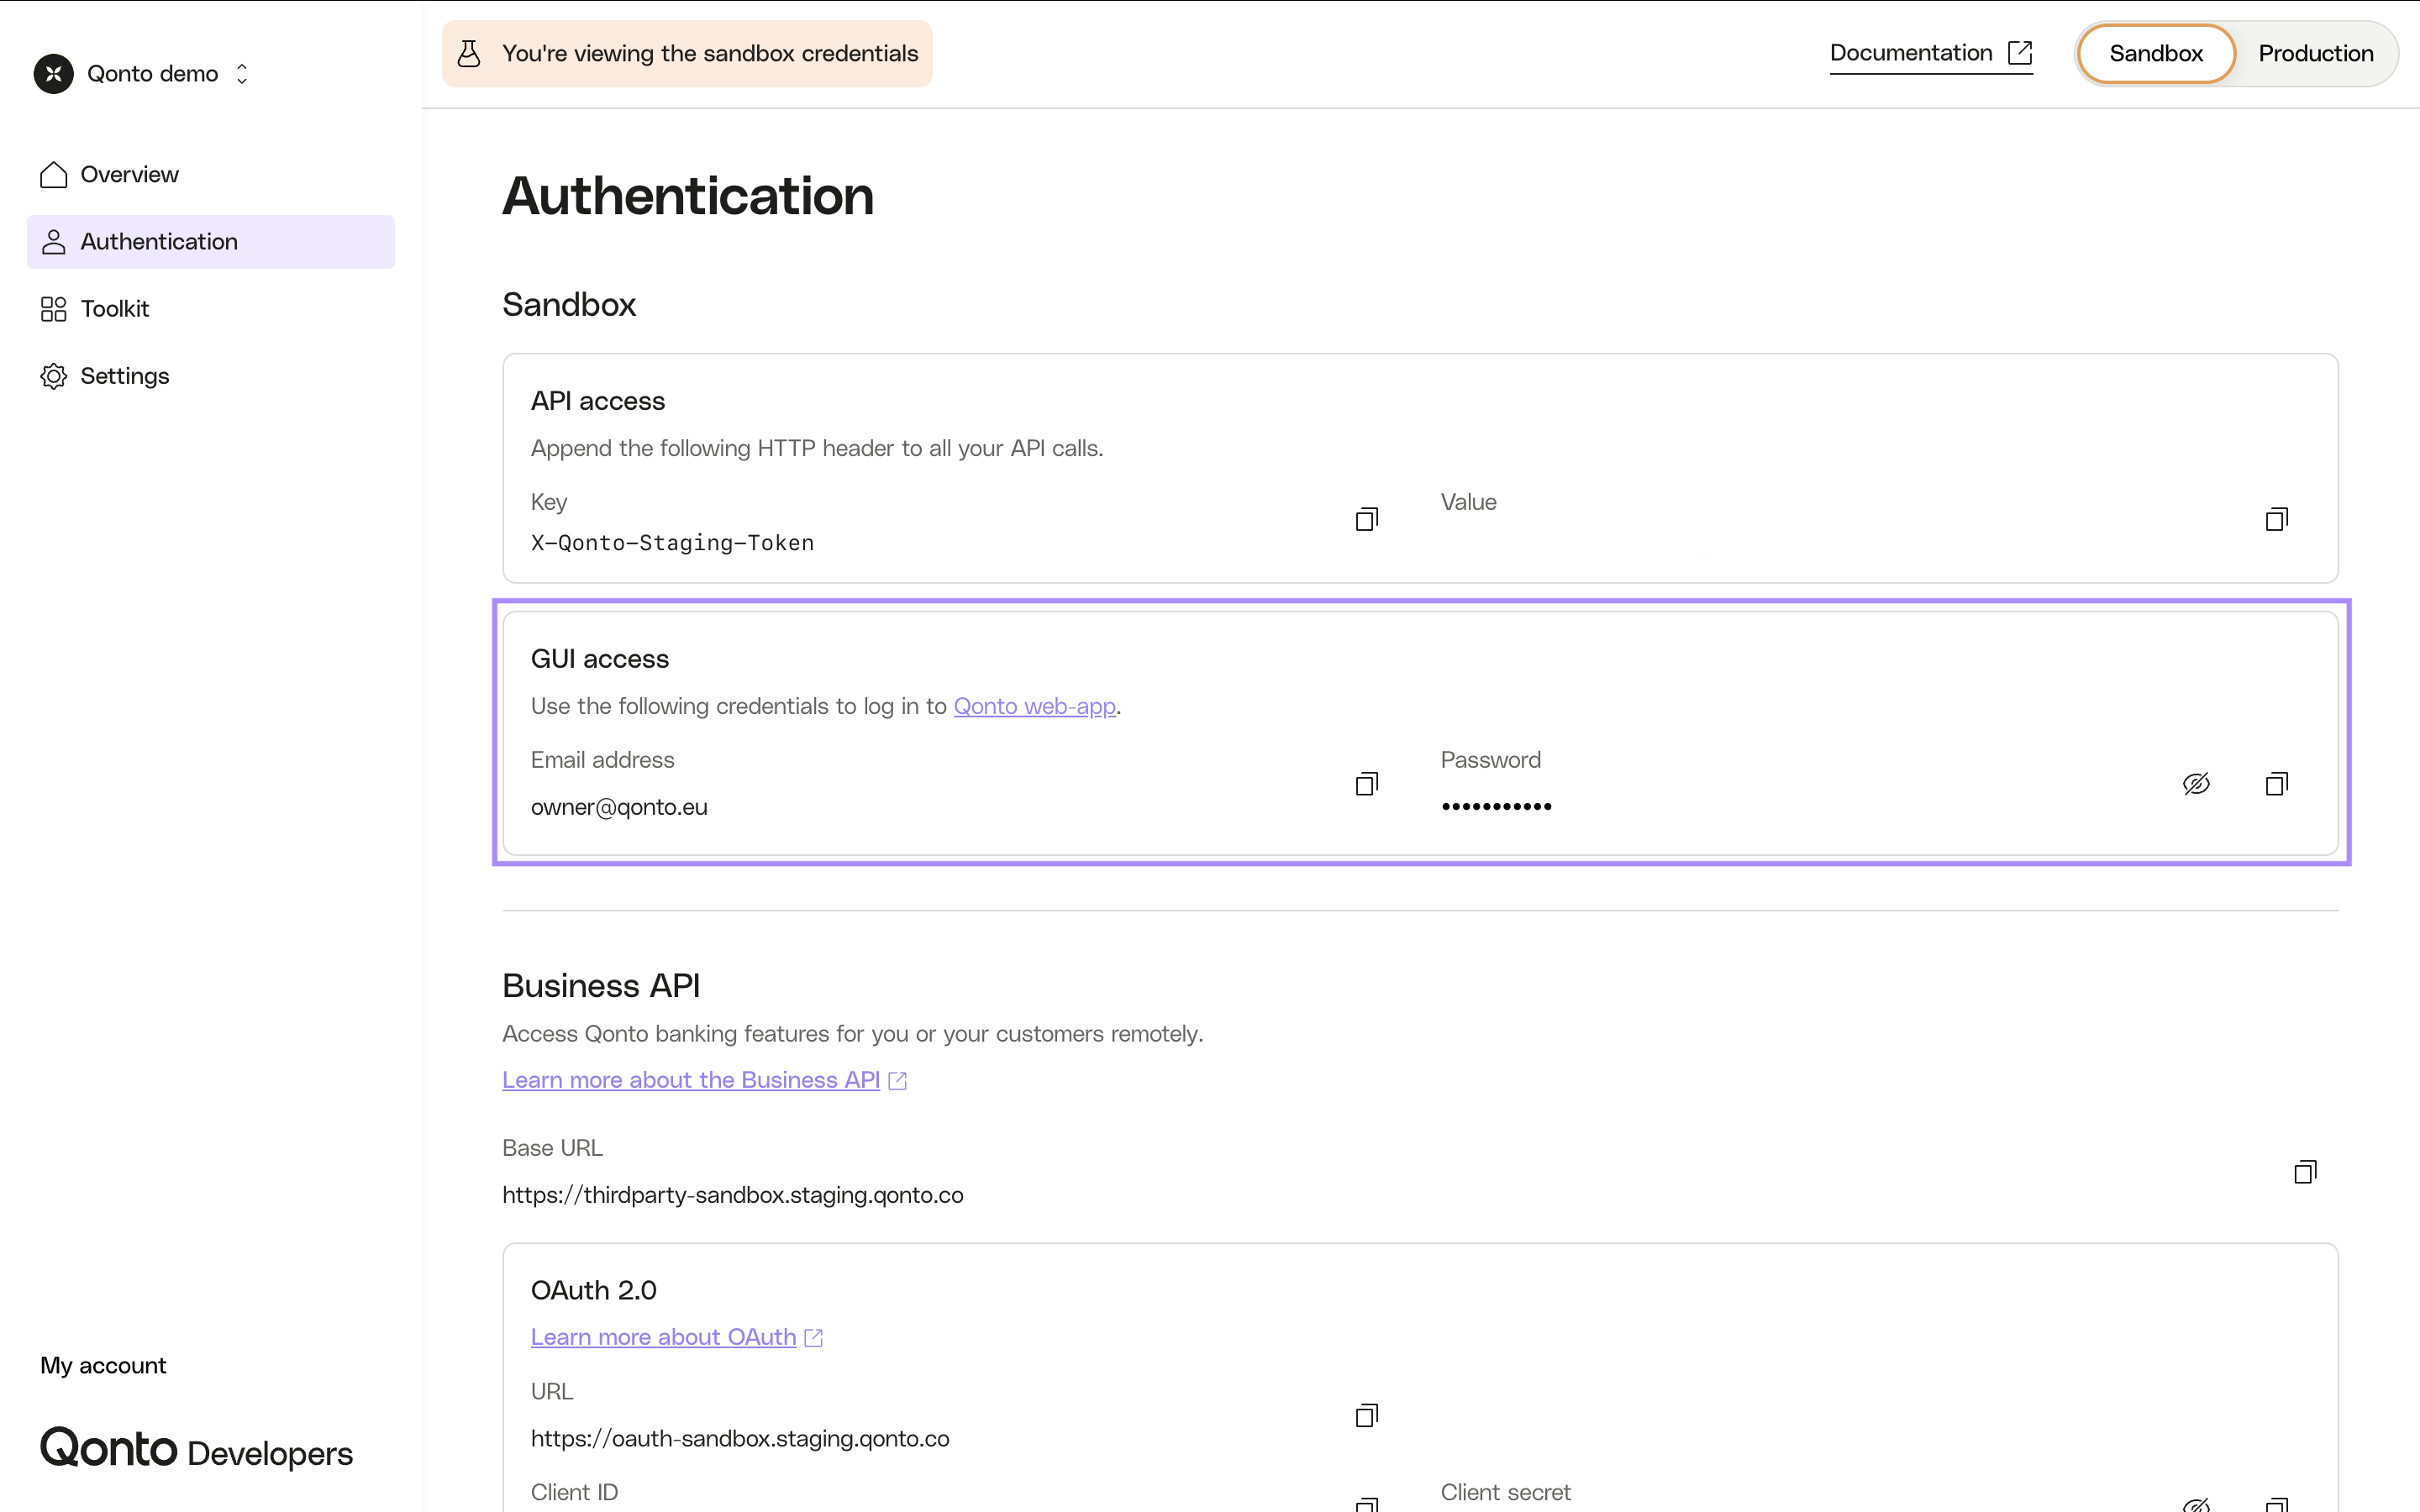
Log in with the credentials available in the Developer Portal.
-
If the verification screen is prompted, fill
123456.
You have access to Qonto Sandbox web app!
Create my own user (optional)
Create my own user (optional)
Do I need to create my own user?The user associated to owner@qonto.eu is a shared user.If you need privacy concerning your testing data and/or more autonomy, then you should create your own user.
- From the Toolkit, click on “Sandbox web app”.
- Log in with the credentials available in the Developer Portal.
- For any organization, click on the “User management” tab.
- Click on the “Invite team member” button.
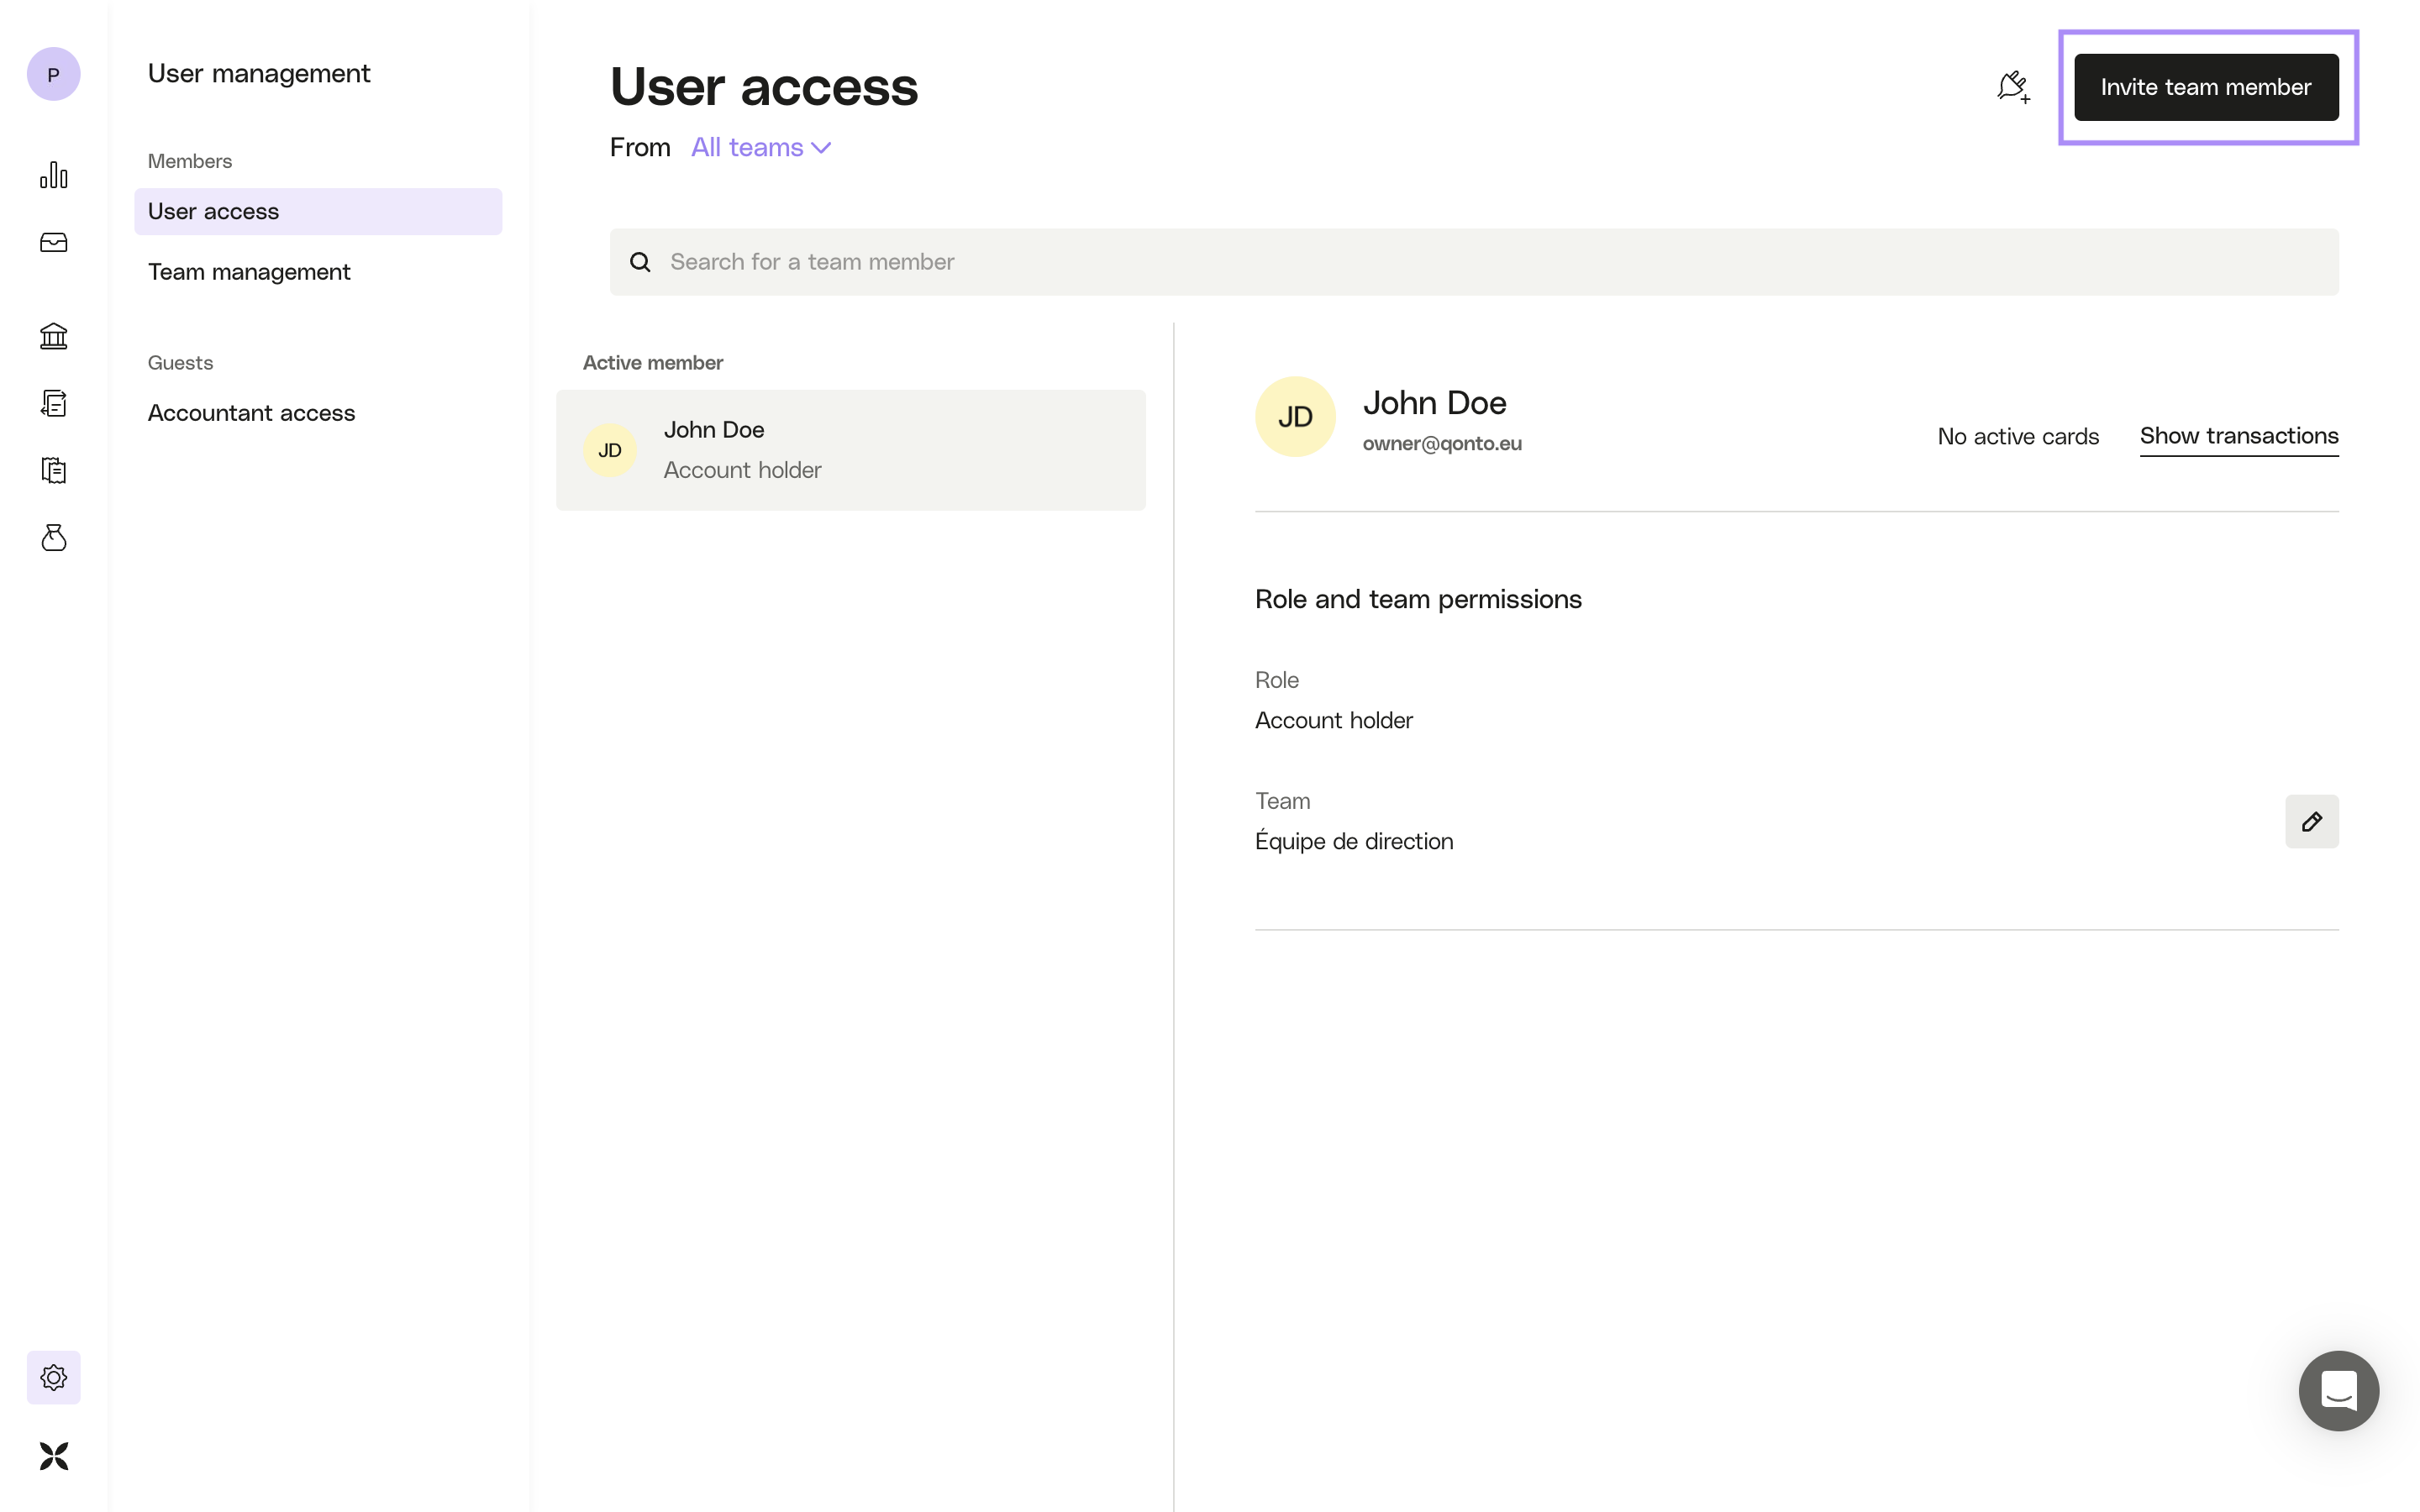
- Create a new user.
- If the verification screen is prompted, fill
123456. - From the Toolkit, click on “Mailcatcher”.
- Find the email sent to the email address of your new user.
- Click on “Accept invitation” in the email and go through the self-onboarding process.
Your new user is activated!N.B. : You don’t need to verify your identity.
Create my own organization (optional)
Create my own organization (optional)
Do I need my own organization?The organizations associated to owner@qonto.eu are shared organizations.If you need privacy concerning your testing data and/or more autonomy, then you should create your own organization.
- Create your own user (cf. previous step).
- From the Toolkit, click on “QA tool”.
- Click on “Create Organization”.
-
Fill the following fields:
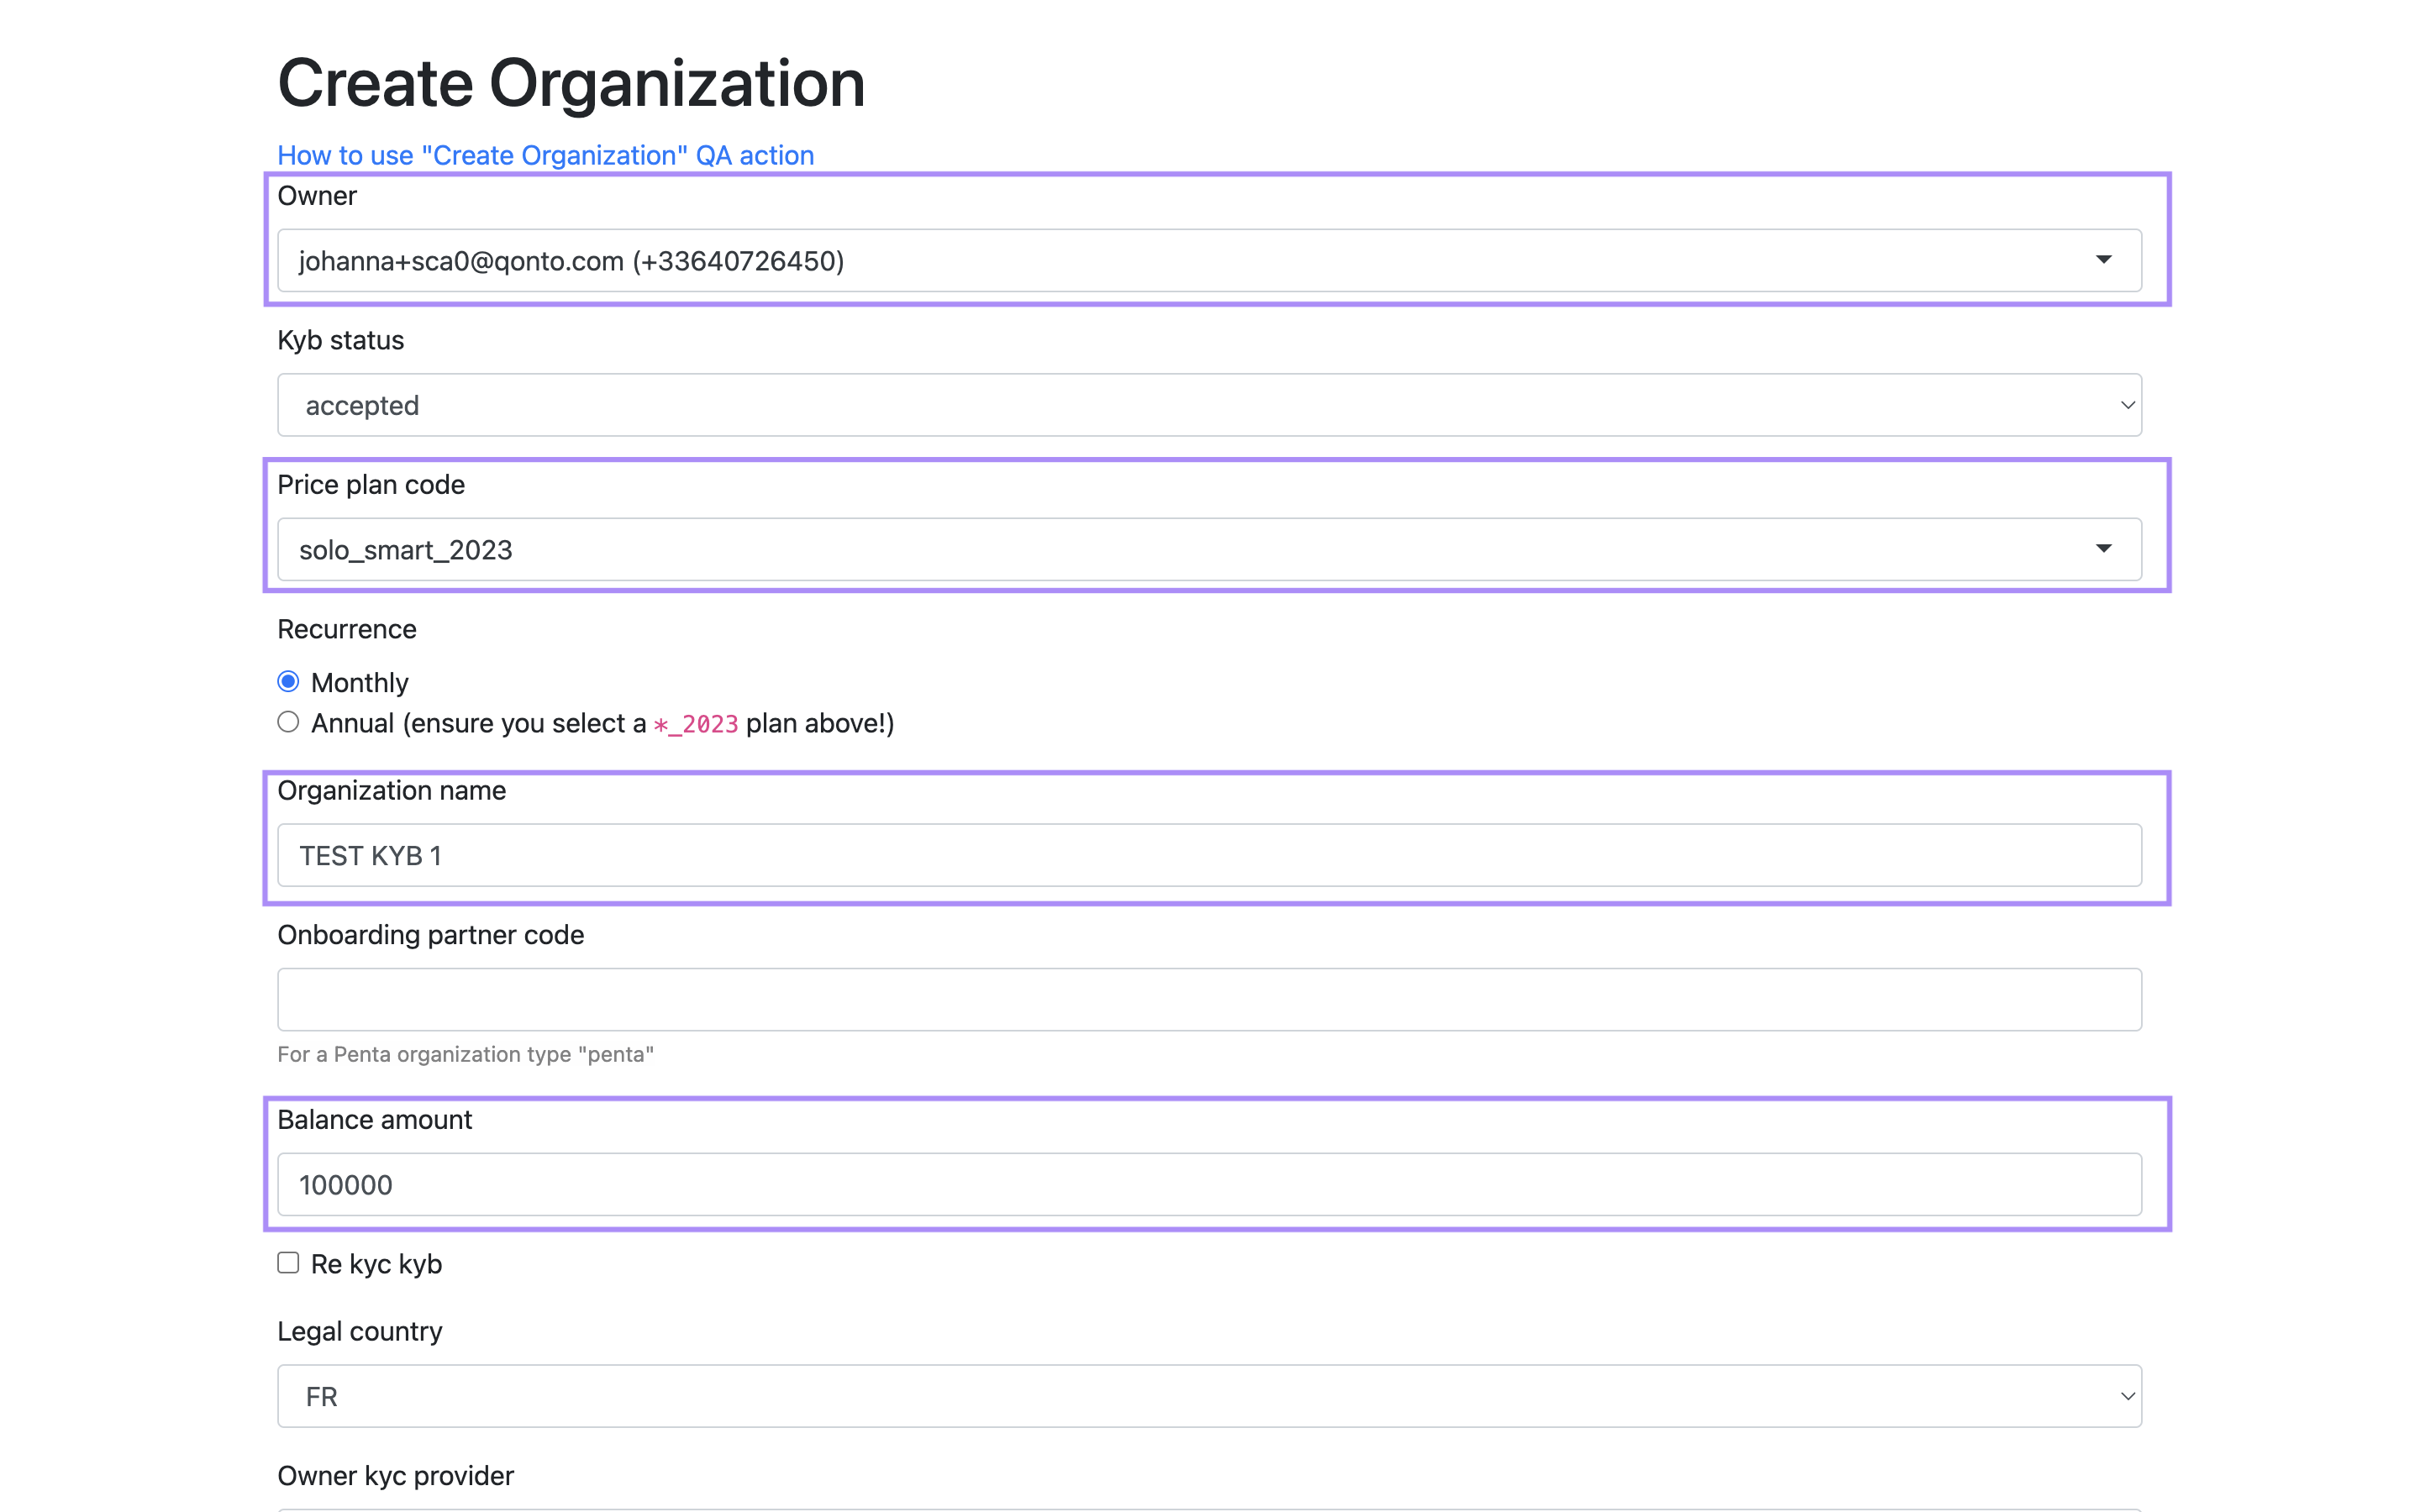
Owner: the email address of your new user.Price plan code: choose your plan depending on the functionalities you need to test; indeed, some functionalities are only available for given plans (cf. Qonto pricing for more details).Organization nameBalance amount: it will be the amount available in your test bank account,100000€ will be a good start!
-
Submit the form.
From the Toolkit, click on “Sandbox web app”. Your new organization is created!
Make your first API call
To call the Sandbox environment, you should use Sandbox base URLs not Production base URLs.
Set up Postman (optional)
Set up Postman (optional)
- Fork our Postman collections in your workspace:
- Fork our Postman environments in your workspace:
-
On your workspace, select an environment before making any API call.

Your Postman workspace is set up!
Authenticate
Authenticate
You’ll find all the authentication credentials you need in the Developer Portal.
- Business API
- Onboarding API
If you need to authenticate through:
- OAuth 2.0 (customers using sensitive endpoints and partners) 👉 follow those steps;
- your API Key (customers only) 👉 follow those steps.
Build your integration
Not sure how to start building?
Check out our step-by-step use case guides to see how common integrations are built end-to-end. Each guide walks through real scenarios with full code examples in Python and Node.js, including how to send SEPA transfers, sync invoices and attachments, bulk upload supplier invoices, generate Factur-X PDFs, and sync transactions.
Release your integration
All the API operations can be replicated from the Sandbox to the Production environment. Before getting your production credentials, verify what your use case requires.
Sensitive scopes
Some scopes are classified as sensitive because they cover operations regulated under PSD2 (Payment Services Directive 2). Using a sensitive scope means your application can initiate payments or access broad financial data on behalf of users — actions that require regulatory oversight and Strong Customer Authentication (SCA).If your application uses sensitive scopes, additional approval is required before going to production — except for Automate your business operations, which requires no review even for sensitive scopes. Discover available scopes and workarounds.Obtain Production credentials
Once your application is approved (if required for your use case), follow these steps to go live:-
Get your Production credentials through the Developer Portal.
- Replace your Sandbox credentials by your Production credentials.
- Replace the endpoints base URL.
Your integration is ready to be released in Production!We would be super grateful if you could take a few minutes to share your feedback regarding our Public APIs: Tell us what you think
Publish your integration in our Marketplace (optional)
To publish your app in our Integrations & Partnership section, you need to meet the following requirements:
- Your integration should be used at least by 25 beta testers.
- Once you meet the first requirement, submit a ticket as “Ask questions” on Developer Support:
- a video of the functionalities of your integration;
- credentials so we can login into your product and test your integration.
- Once your integration is approved, you will have to provide us with the information you want to display in the integration page.